はじめに
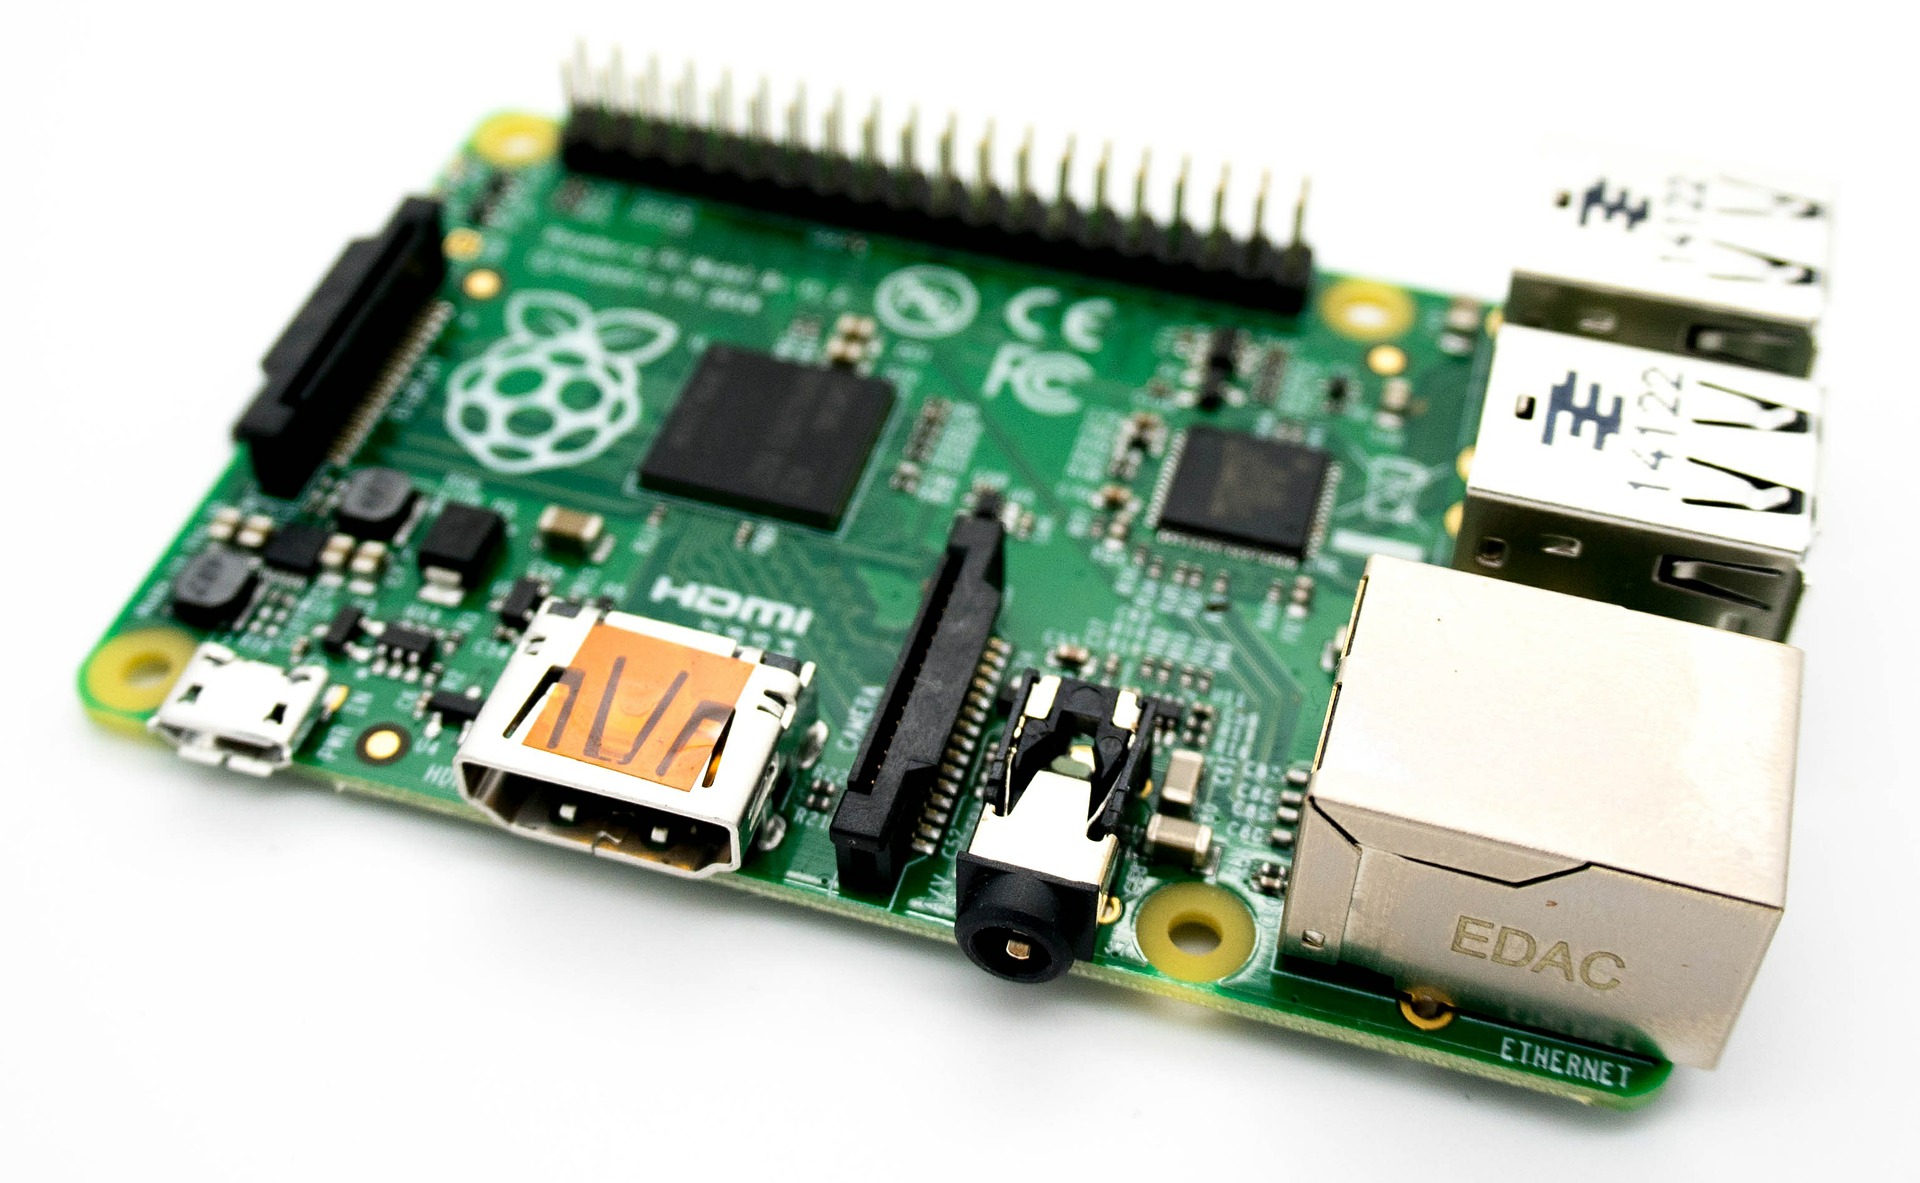
これまでも何度も Raspberry Pi を初期化していますが、今回はサーバー運用に定評がある CentOS(for armv7hl) を入れてみました。
この記事は、その時の設定メモとなります。
補足
armv7hl とは、文字通り ARMv7 向けかと思いますが、Raspberry Pi 3は、ARMv8 です。なので、本来であれば v8用が必要なのかもしれませんが、CentOSのサイトには Raspberry Pi 3 用であっても armv7hl とファイル名にかいてあるので、この辺のARMのバージョンは気にしなくていいのかもしれません。
なお今回入れるCentOS用のイメージはテスト版であることと、ARM用ということなので、普通のx86版のCentOSで行えるようなサードパーティのパッケージが用意されていない場合がありますので注意してください。
宣伝
メールサーバーの作り方ものっています。
起動まで
パーティションが存在するSDカードの初期化
- コマンドプロンプトで「
diskpart」を実行 - 「
list disk」で初期化したいSDカードのディスク番号を調べる - 「
select disk 1」でディスク番号1を選択する - 「
list partition」でパーティションを確認し選択しているのが正しいことを確認 - 「
clean」で内部を初期化
SDカードをフォーマットする
CentOSのRaspbeyPi3用のimgファイルを準備
- 「CentOS-Userland-7-armv7hl-Minimal-1611-test-RaspberryPi3.img.xz」をダウンロードして「7zip」などで展開
- 「Win32DiskImager」を利用して、imgファイルをSDカードに入れる
- これを差し込めば一応利用可能になる
起動後のネットワーク設定と基本設定まで
SSHでログインできるまでの基礎設定
- HDMI でディスプレイに接続して、USBキーボードを接続する
- 次のコマンドをうち日本語キーボード入力を有効化する
localectl set-keymap jp106
localectl set-keymap jp-OADG109A
localectl LANG=ja_JP.utf8
- タイムゾーンの設定を行う
timedetectl set-timezone Asia/Tokyo
- SDカードの拡張を行う
/usr/local/bin/rootfs-expand
- 次のコマンドでIPアドレスを調べる
ifconfig
- sshで、ユーザー名
root、パスワード、centosでログイン - パスワードは次のコマンドで変更できるので必ず変更しておきましょう
passwd
外部にネットワークで接続できるようにする(CentOS7 から後述の nmtui を使うと良い)
- 「
/etc/sysconfig/network」がないので、「touch」で新規作成する※後述の補足 - 中はネットワーク接続と、デフォルトゲートウェイの設定をする
NETWORKING="yes"
GATEWAY="192.168.11.1"(デフォルトゲートウェイ)
- 「
/etc/sysconfig/network-scripts/ifcfg-eth0」を編集して、固定IPアドレスにする
-
- 変更前
TYPE="Ethernet"
BOOTPROTO="dhcp"
NM_CONTROLLED="yes"
DEFROUTE="yes"
NAME="eth0"
UUID=xxx
ONBOOT="yes"
-
- 変更後
TYPE="Ethernet"
BOOTPROTO="static"
NM_CONTROLLED="yes"
DEFROUTE="yes"
NAME="eth0"
UUID=xxx(いじらない)
ONBOOT="yes"
IPADDR="192.168.11.200"(自分のIPアドレスにする)
NETMASK="255.255.255.0"
DNS1="8.8.8.8"(Google のDNSサーバーを設定する)
DNS2="8.8.4.4"
- NetworkManagerを止める
systemctl stop NetworkManager
- ネットワークの設定をリロードする
systemctl daemon-reload
systemctl restart network
pingで外部サーバーに接続できるかテストする
[root@centos-rpi3 sysconfig]# ping google.com
PING google.com (216.58.200.174) 56(84) bytes of data.
64 bytes from nrt12s11-in-f174.1e100.net (216.58.200.174): icmp_seq=1 ttl=49 time=20.3 ms
64 bytes from nrt12s11-in-f174.1e100.net (216.58.200.174): icmp_seq=2 ttl=49 time=20.5 ms
64 bytes from nrt12s11-in-f174.1e100.net (216.58.200.174): icmp_seq=3 ttl=49 time=20.2 ms
補足
※「/etc/sysconfig/network」の設定がないと、次のようにエラーで立ち上がりません。
[root@centos-rpi3 sysconfig]# systemctl status network.service
● network.service - LSB: Bring up/down networking
   Loaded: loaded (/etc/rc.d/init.d/network; bad; vendor preset: disabled)
   Active: failed (Result: exit-code) since Thu 1970-01-08 06:27:21 JST; 8min ago
    Docs: man:systemd-sysv-generator(8)

Jan 08 06:27:21 centos-rpi3 systemd[1]: Starting LSB: Bring up/down networking...
Jan 08 06:27:21 centos-rpi3 systemd[1]: network.service: control process exited, code=exited status=6
Jan 08 06:27:21 centos-rpi3 systemd[1]: Failed to start LSB: Bring up/down networking.
Jan 08 06:27:21 centos-rpi3 systemd[1]: Unit network.service entered failed state.
Jan 08 06:27:21 centos-rpi3 systemd[1]: network.service failed.
注意
CentOS7 から手動でファイルをいじる方法は推奨されていません。nmtuiを使用して NetworkManager で設定するのを推奨されています。nmtuiのほうが簡単にIPアドレスを設定できるので、おすすめです。コマンドで設定ができるnmcuiというのもあります。
yum コマンドを使用できるようにする
yumでカーネルのアップデート抑止をつけて更新を行ってください。
yum clean all
yum --disablerepo=centos-kernel update
※数時間かかる場合があります。
make コマンドやコンパイルを行えるようにする
- 下記のコマンドをうってインストールします。
yum install make gcc gcc-c++
bashをより使いやすくする
デフォルトのbashだと味気ないので、色々使いやすくしていきます。
タブキーの補完を強化する
- 下記のコマンドをうってインストールします。
yum install bash-completion
履歴情報を強化する
- bashの設定ファイル「
/home/pi/.bashrc」に以下を追加した後に「. ~/.bashrc」を実行して下さい。ログの保存量が伸び、また表示に時刻情報も付与されるようになります。再起動するかで設定を更新できます。
HISTSIZE=50000
HISTFILESIZE=50000
HISTTIMEFORMAT='%Y/%m/%d %H:%M:%S '
カラフルにして見えやすくする
- bashの設定ファイル「
/home/pi/.bashrc」に以下を追加した後に「. ~/.bashrc」を実行して下さい。文字列に色がつき、見やすくなります。
# set a fancy prompt (non-color, unless we know we "want" color)
case "$TERM" in
	xterm-color|*-256color) color_prompt=yes;;
esac

# uncomment for a colored prompt, if the terminal has the capability; turned
# off by default to not distract the user: the focus in a terminal window
# should be on the output of commands, not on the prompt
force_color_prompt=yes

if [ -n "$force_color_prompt" ]; then
	if [ -x /usr/bin/tput ] && tput setaf 1 >&/dev/null; then
	# We have color support; assume it's compliant with Ecma-48
	# (ISO/IEC-6429). (Lack of such support is extremely rare, and such
	# a case would tend to support setf rather than setaf.)
	color_prompt=yes
	else
	color_prompt=
	fi
fi

if [ "$color_prompt" = yes ]; then
	PS1='${debian_chroot:+($debian_chroot)}\[\033[01;32m\]\u@\h\[\033[00m\]:\[\033[01;34m\]\w\[\033[00m\]\$ '
else
	PS1='${debian_chroot:+($debian_chroot)}\u@\h:\w\$ '
fi
unset color_prompt force_color_prompt

# enable color support of ls and also add handy aliases
if [ -x /usr/bin/dircolors ]; then
	test -r ~/.dircolors && eval "$(dircolors -b ~/.dircolors)" || eval "$(dircolors -b)"
	alias ls='ls --color=auto'
	#alias dir='dir --color=auto'
	#alias vdir='vdir --color=auto'

	alias grep='grep --color=auto'
	alias fgrep='fgrep --color=auto'
	alias egrep='egrep --color=auto'
fi

# colored GCC warnings and errors
export GCC_COLORS='error=01;31:warning=01;35:note=01;36:caret=01;32:locus=01:quote=01'
※上記の変更コードはUbuntuをインストール後の「.bashrc」から抽出したものです。
その他の基本設定や便利にする
よく使う開発用アプリをインストール
多くのアプリはyumでインストールできますが、nginxやNode.jsなどないものもあります。そのような場合は、ソースコードを直接ダウンロードしてきて、makeする必要があります。
以下を実行することで、make作業でよく利用するアプリをインストールできます。「Development Tools」は開発用のツールを一括にいれられます。
yum groupinstall "Development Tools"
yum -y install wget perl pcre-devel zlib-devel openssl-devel
pi@centos に変更してみる
- 現在使用しているのは「
root@centos-rpi3」となりますが、rootを権限で常にいるのはよくないとききます。そのため、別のアカウントを作りたいと思います。 - 次のようにすることで、簡単にpiユーザーを作成できます。
useradd pi
passwd pi
- ホスト名もついでに変更する
hostname centos
- 新規に作ったpiユーザーで、
sudoを使用できるようにする
visudo
- 「
visudo」で「/etc/sudoers」を編集します。
-
- 変更前
## Allow root to run any commands anywhere
root    ALL=(ALL)       ALL
-
- 変更後
## Allow root to run any commands anywhere
root    ALL=(ALL)       ALL
pi      ALL=(ALL)       ALL
- pi ユーザーで ssh ログインが出来るようになり、さらに
sudoも利用が行えます。
viより使いやすいnanoをインストールしてみる
nanoのインストール
sudo yum install nano
ファイルサーバー機能を有効化する
- Sambaをインストールする
yum install samba
- アカウントを作成する(下記のどちらかのコマンドでよい)
smbpasswd -a pipdbedit -a pi
- 設定ファイルを編集する
vi /etc/samba/smb.conf
- 中身がおかしな部分があるので修正する
[global]
        workgroup = SAMBA
        security = user

        passdb backend = tdbsam

        printing = cups
        printcap name = cups
        load printers = yes
        cups options = raw
        encrypt_passwords = yes ← 実際は"encrypt passwords"
- アカウントを確認する
pdbedit --list
- サービスの起動と、自動開始の設定、ファイアーウォールの設定をする
systemctl start smb.service
systemctl start nmb.service
systemctl enable smb.service
systemctl enable nmb.service
firewall-cmd --permanent --add-service=samba --zone=public
firewall-cmd --reload
- ホームディレクトリも見えるようにしておく
setsebool -P samba_enable_home_dirs on
Javaを利用できるようにする
- 以下のコマンドのみで利用できるようになります。
yum openjdk
セッションが切れても裏で処理を実行させ続ける
screenを導入するとよい。コンパイルとか時間がかかる処理をする場合は導入するとよい。
yum screen
Node.js & npmを利用できるようにする
yumにないので、コンパイルが必要。まずはディレクトリを移動
cd /usr/local/src/
- ソースコードをダウンロードして展開します。
wget https://nodejs.org/dist/latest-v10.x/node-v10.13.0-linux-armv7l.tar.xz
tar -xvf ./node-v10.13.0-linux-armv7l.tar.xz
cd node-v10.13.0-linux-armv7l/
- コンパイルします。ラズパイ2だと10時間ほどかかるため、
screenを導入したほうがいいです。
./configure --prefix=/usr/local/nodejs
make
- インストールして、実行ファイルへシンボリックリンクを設定
make install
ln -s /usr/local/nodejs/bin/node /usr/bin/node
ln -s /usr/local/nodejs/bin/npm /usr/bin/npm
- バージョンを確認して表示されたら完了
node -v
v10.13.0
npm -v
6.4.1
他に何かしていったら追記していきます
参考サイト
- 2016/02/18 pb_tmz08 – [Raspberry Pi] RaspberryPi 2でCentOS7 ことはじめ
- 2017/03/21 MSeeeeN – Raspberry Pi 3 で CentOS 7 を動かす
- 2016/09/22 NAZA – raspberry Pi3にcentos7を入れてみた – Qiita
- Raspberry Pi 用のSDカードを初期化する方法
- Raspberry Pi 3へのCentOS7のインストール 基本編
- NetworkManager 使用方法(nmtui編)
- 2014/07/12 enakai00 – RHEL7/CentOS7でipコマンドをマスター
- 2017/01/22 miyu – net-tools は使われなくなり iproute2 が標準的になるかも
- 2016/04/14 k-sh – CnetOS 7 (on Raspberry Pi)でのrpmパッケージビルド環境の構築
- 2015/06/28 CentOS 7 で ネットワーク(IPアドレス、ホスト名、ドメイン名など)の設定を行う
- 2017/12/24 revsystem – RaspberryPi 3 model B に CentOS7をインストール
- 2018/02/17 hirapi yum groupinstall “Development tools” で入るパッケージ一覧(CentOS)
- 2017/11/4 shadowhat nginxインストール(ソースからコンパイル編)for CentOS7.2
- 2017/03/17 bacchi 作業がグッと楽になる screen を使おう!
- 2012/07/21 Wokashi [Linux] historyの件数を増やす&日付も同時に記録


コメント